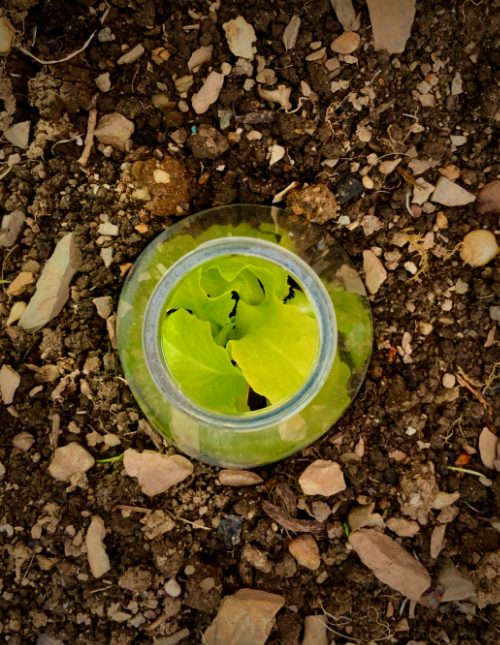
We’ve been the proud parents of an allotment for just over a year. Starting from absolute scratch: the allotment plot was more akin to a field and our own knowledge was close to zero. We ordered a few second hand books thinking “how hard can this all be?!”
With its small victories and also some pretty certain mistakes along the way, I’ve put together 3 things I wish I’d learn/extracted from books and my pro allotment neighbours sooner!
1. Up-cycle the plastic bottles and save your babies!
Whether you’ve grown your baby plant from seed or bought a plug (young version of the plant) from the garden centre, those early days when those little spindly stems are getting lashed by heavy rain and howling winds... give them the best possible chance with a bit of protection.
Using any plastic bottle. Cut it in half. Cut the base and top off; these will work as a tiny windbreak (the lower bit) or a tiny greenhouse (upper bit). So place them over your young seedlings…they will also keep those slugs from wiping out your whole stock of young french beans in one night!
2. Free wood for Raised beds
Raised beds are a really easy way to outline a space for whatever you want to grow. They are super easy to make and can be made completely free from pallet wood.
Pallet wood is everywhere. I initially looked on Facebook marketplace where it was going really quickly or people were charging for it.
Now I just stop next to building sites and ask them directly. It’s a worth a try; usually people are really happy for you to get the pallets off their hands.
The breaking down of pallets and the making of the raised beds can take a bit more time and I will go into more detail in the next blog post. For now, have a look around and if you have space, think about gathering some pallets. It’s not just raised beds they can be good for...also planters! Stay tuned.
3. Beginner's Proof Veg
Here’s my favourite 3:
Dwarf french beans - they are a miniature version of their cousin “the french bean”. They don’t need too much attention and can be grown in pots. Super cute, super delicious and the more you pick, the more they produce. Win, win!
Chard- these easy to grow, resilient greens are an abundant fresh veg for you to pick throughout the summer. Chard will also continue to grow through autumn and winter so you’ll never be short of something to add to your stir fry! Our favourite...garlicky greens!
Peas - there’s nothing better than fresh peas, let’s face it, so this one has to go in here. Peas take a touch more work but you can plant them every 4-6 weeks for a continuous supply right through the summer. Think pea shoots in your salad, young pods that can be eaten straight from picking and of course peel those plump juicy pods for your fresh, sweet peas.
Idiot’s Guide to Growing Peas
Old guttering? Cut it to about 1 meter and seal the ends (I use wide sellotape). Fill with soil and plant your peas 1 cm apart along the length of the gutter.
Once the peas have grown to about 25cm (and they start falling about and requiring support), dig a 1 meter trench in your raised bed/ garden. Release one end of the gutter and push the soil and peas in a long line from the gutter into the soil. Place pea sticks (easily found in your garden centre) into the ground to support the peas as they grow.
As we write in mid May in the UK, it’s not too late to plant. In fact, now that the last frost has passed, put your seeds directly into the ground. Happy growing!
Rebecca

